Custom Macro Keyboards
What is a Macro Keyboard?
A macro keyboard is basically just a custom HID device that is programable. You can even convert a normal full size keyboard into being a macro keyboard if you wanted, but my use of a macro keyboard is to have defined functions.
TL:DR - Effectively its a input device that can execute commands on a computer, this can be as simple as a single key press or combinations of key presses.
Why?
A macro keyboard can simpify actions you do on a daily basis by distilling the command into its very own button. One comical example of this would be the 3 button “stack overflow” macro keyboard.
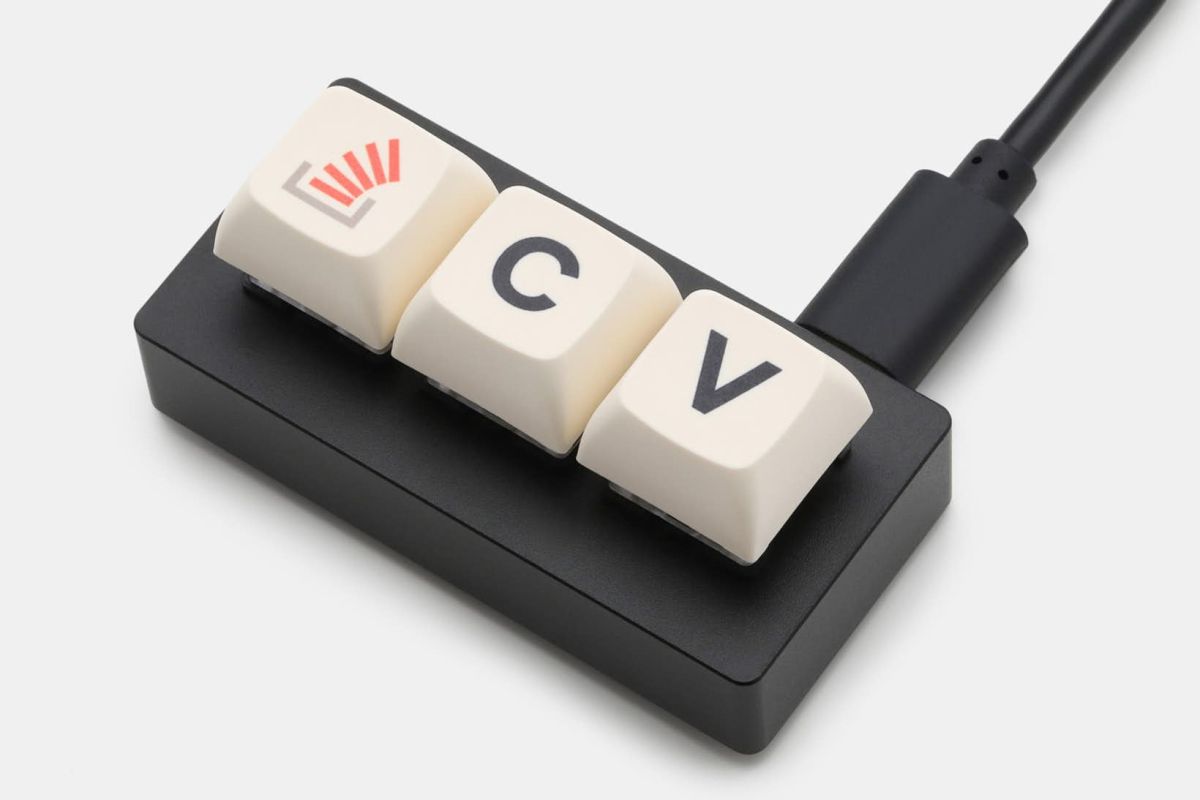
Assuming this is keyboard is connected within a windows environment the stackoverflow button could be macroed up to open up a web browser via win+r, then typing in firefox.exe and so forth. C and V could be macroed to do ctrl+c / v as well.
These are basic things a macro keyboard can do. Although you may scoff at macroing up such basic things that everyone should already memorized, thats the beauty of a macro keyboard, the functionality can be nearly limitless.
The initial Build
Starting out, the functionality of a macro keyboard can be emulated with software quite easily, one such software is AutoHotKey and although this is definitely a solution, its not as elegant as I would like. Thus when I sought out to make my own macro keyboard I started simple. Theres numerous designs for macro keyboards on the web, the first one I went with goes by the name Stream Cheap (Mini Macro Keyboard)
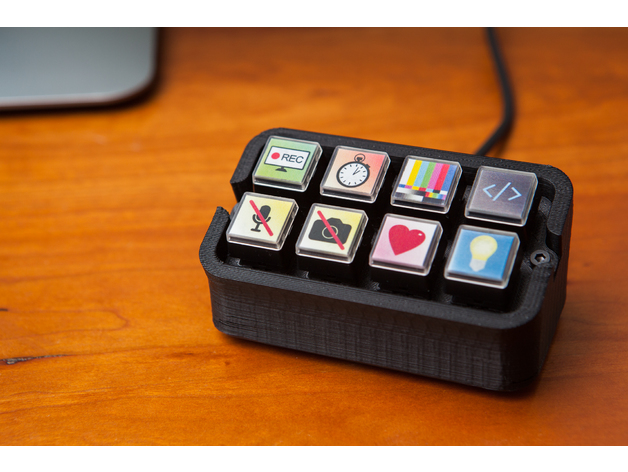
A relatively elagant design, 8 buttons, handwired into a Pro Micro Arduino and programmed with simple arduino code.
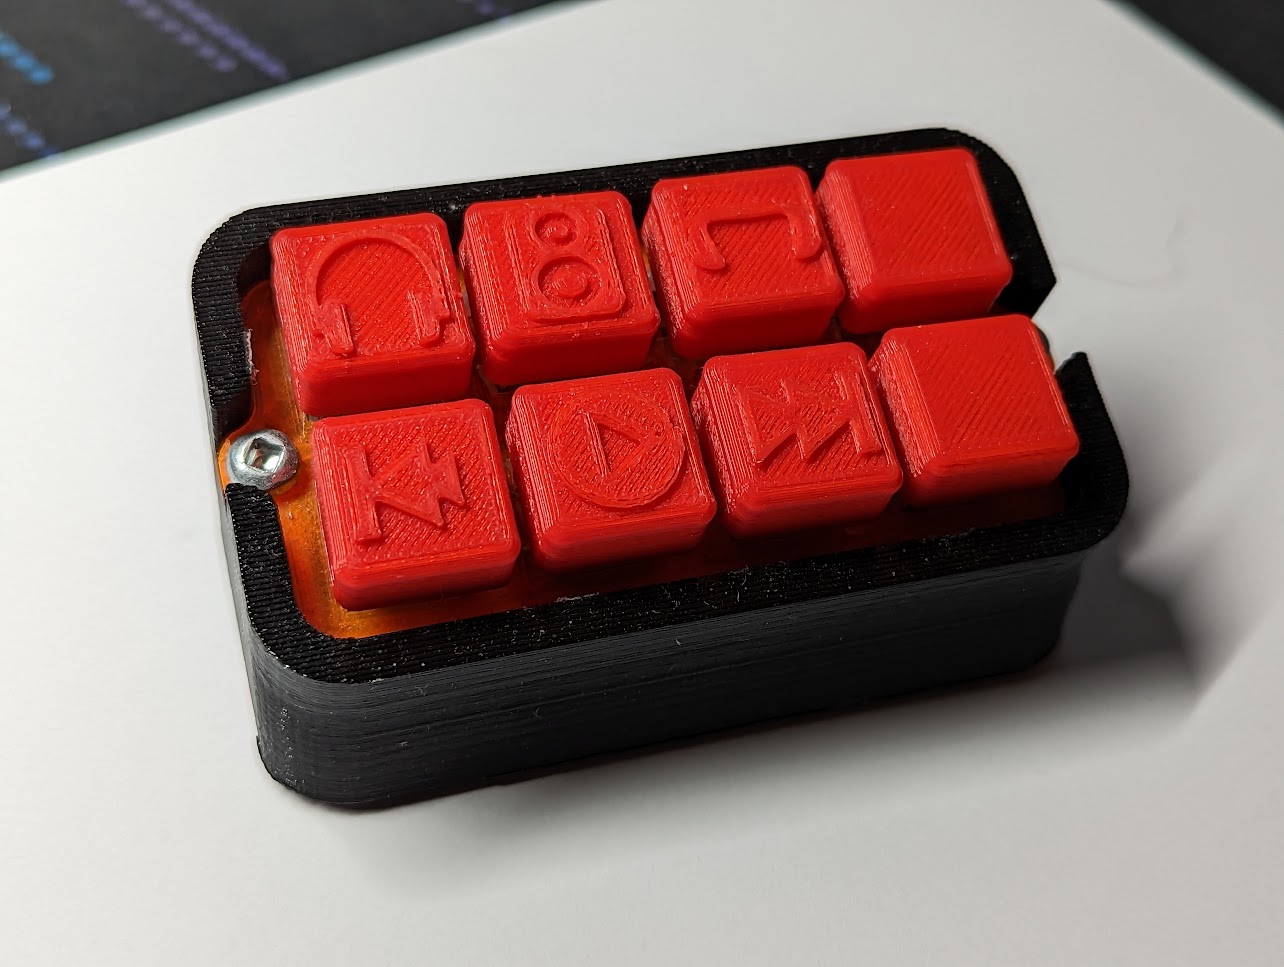
Above you can see an image of my very own 3d printed stream cheap
Issues with StreamCheap
Now, the streamcheap works great out of the box, the arduino code thats loaded onto the Pro Micro is, what I call “static”. If I bind the top left button to type the letter A it will always type out the letter A until I decide to reflash the code back onto the pro micro.
The issue with reflashing is that in order to put the pro micro into “programming” mode you must press a button on the pro micros PCB itself, thus it would require a full disassembly of the device.
The creator of the StreamCheap advises the user to map the buttons to F13-20 in order to remap it via the software AutoHotkey. Now this will definitely work, its not a very elegant solution. Thus it was time to find a better solution.
QMK
QMK is a very popular software/firmware package in the Mechanical keyboard community as a basis for running a custom keyboard, by default it would not really serve my purposes but it works as a very good basis. The Pro Micro is a very popular micro controller, and it also supports the QMK software package, thus flashing this firmware onto the pro micro was the definite path to take to improve the macro keyboard.
VIA
By default QMK merely acts as the basis for a mechanical keyboard, by combining it with VIA you gain the ability to fully customize the “keyboard” on the fly without having to reflash it. But the thing about VIA is that its very much what you would consider the “stable/LTS” branch of development. Thus for this project I actually used VIAL a fork of VIA.
The Build
For my own build of this mechanical keyboard I had to
-
Flash QMK on a Pro Micro
-
Hand Solder all the key switches to the Pro Micro
-
3D model a new case for the macro keyboard to reside in
-
Fit all parts together
-
Edit/Compile a new QMK firmware for the keyboard
-
Flash the Pro Micro with that custom QMK firmware
-
Cross my fingers my solder job was sufficient
Extra Notes
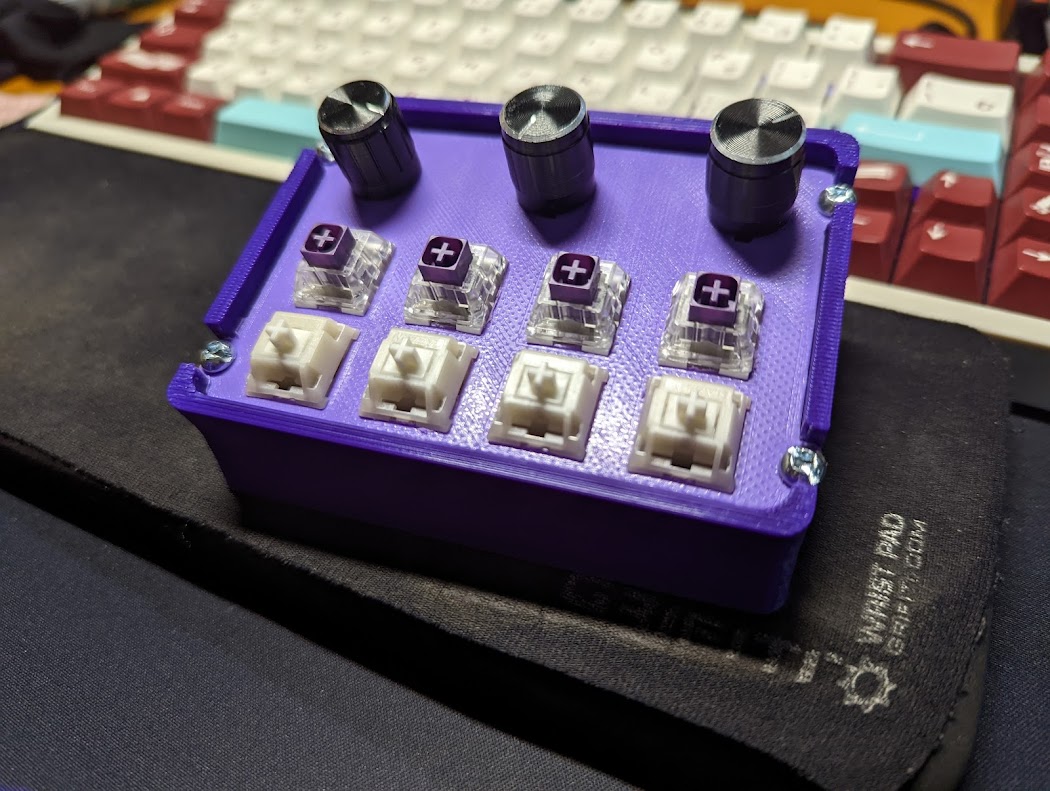
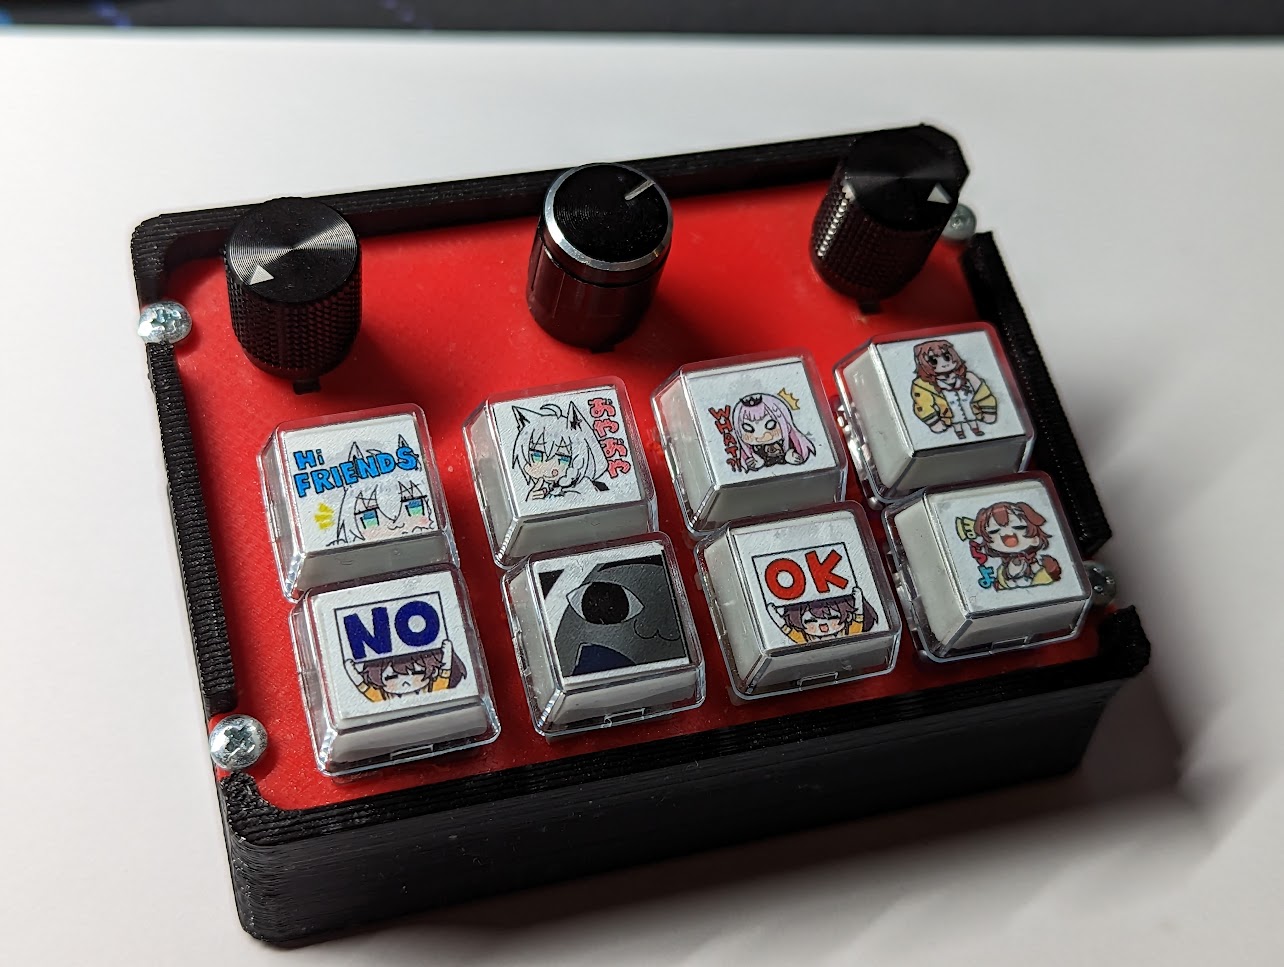
As you can see above the final macro keyboard looks different than the initial one. I mocked up a new case to accomodate 3 radial encoders(the knobs). The reasoning behind the addition was that they actually tap into a audio manager I have installed on my computer, they correspond to “general” - “media” - “foobar2000” - “communications”(This radial dial is actually on my VOIP specific macro pad).
By turning the knobs I have full control over the audio levels on my computer at all times, no need to fumble around in the windows audio manager.
As for the buttons, 4 of the buttons send commands to my audio manager to change my audio output device, I swap between Speakers/bluetooth/2.4ghz so often during the day that adding buttons to change between them is much more convient than fumbling with software.
2 of the buttons also correspond with Windows Virtual Desktop + Right/Left, I got so used to using VDs at one of my previous jobs on a Macbook Pro that its nice having dedicated buttons for them.
Other Macro Pad
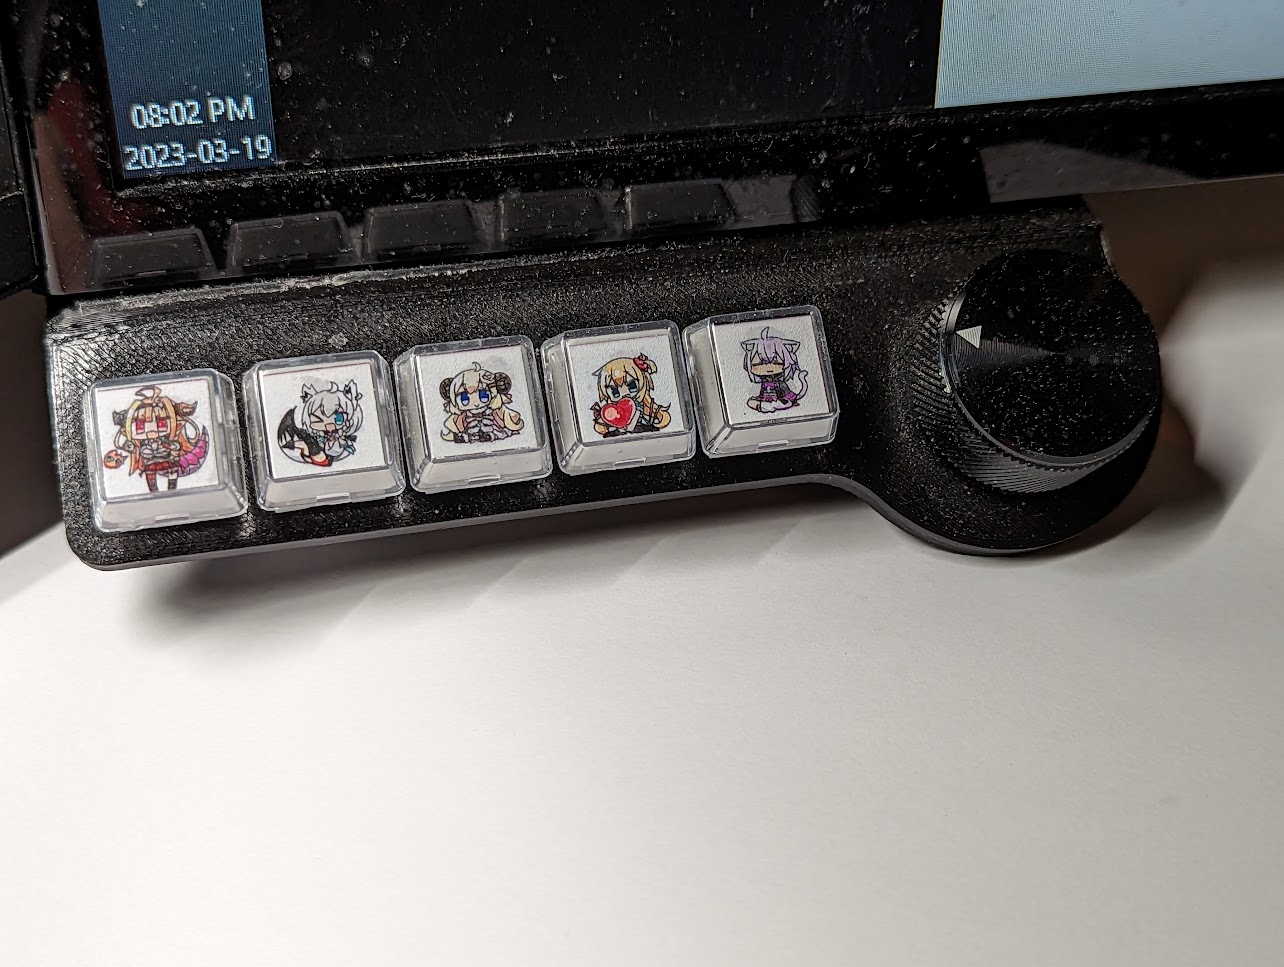
This other macropad I call it handles all my communication/voip controls, the radial dial controls the volume levels, while the buttons control Mute/Deafen, I haven’t gotten around to labelling them properly yet.
Closing Notes
Theres no doubt that I could still make improvements to the design, the software underlying all the macropads actions still use large amounts of abstration that should be fixed/improved, but I persoally feel very content with what I have created. Its a purpose built tool that I made myself that does its job well.
