Turning a broken monitor into a thin client
The Monitor
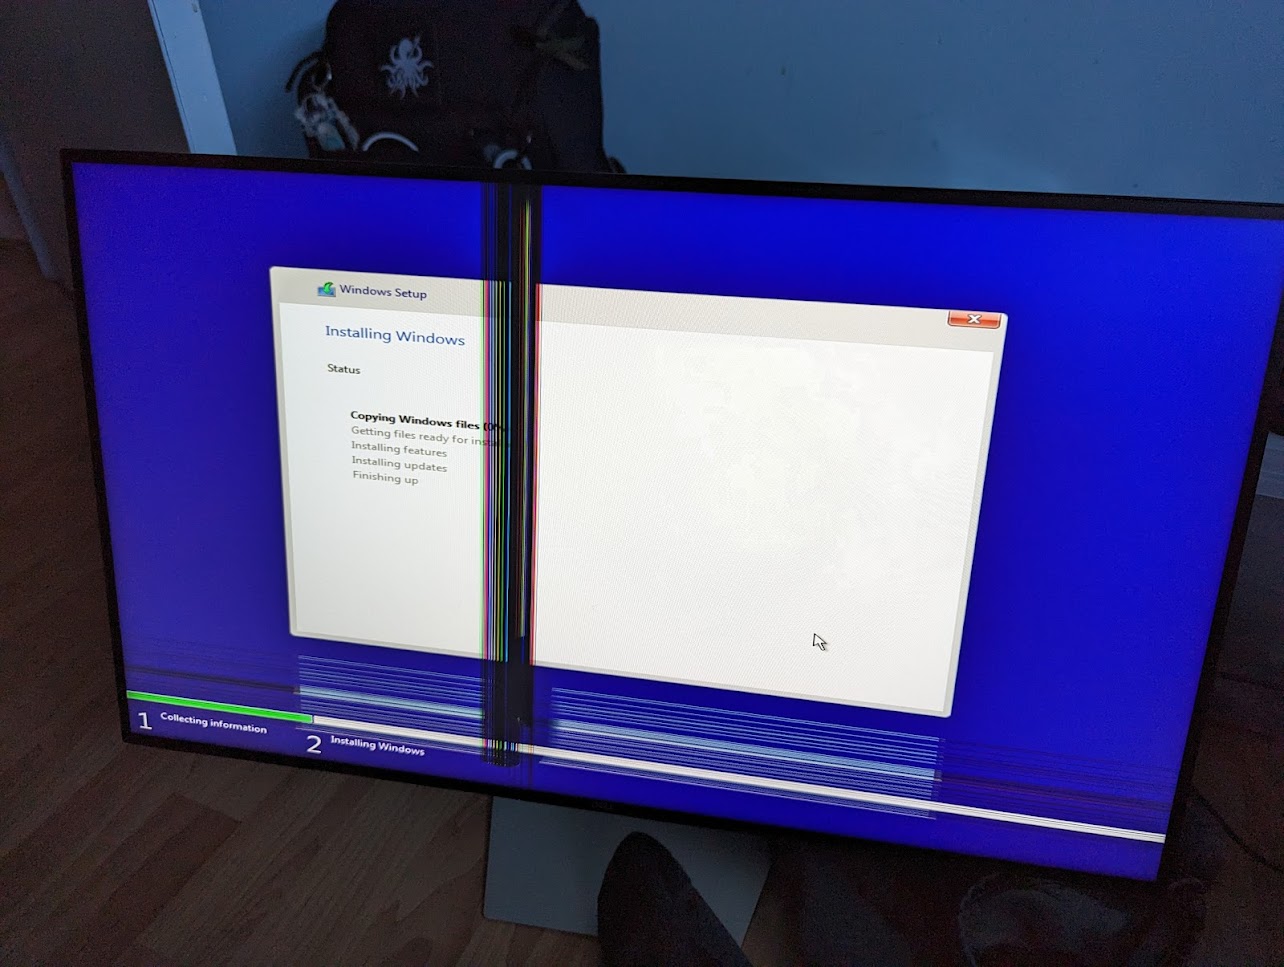
One of my relatives broke this quite nice Dell 1440p IPS monitor a couple months ago, as you can tell from the image its basically impossible to repair, the cost of a monitor is basically 80-90% on the panel alone. Thus theres no real point in doing a full repair of this monitor, but some sections of the monitor are still quite usable, that top left section and bottom right section are fine.
Thus, why don’t we do some trickery to make it work?
Ideas
I had some ideas going into this, if I wanted to keep using windows I could use Powertoys and setup a custom fancy zones setup to avoid the ruined sections of the monitor.
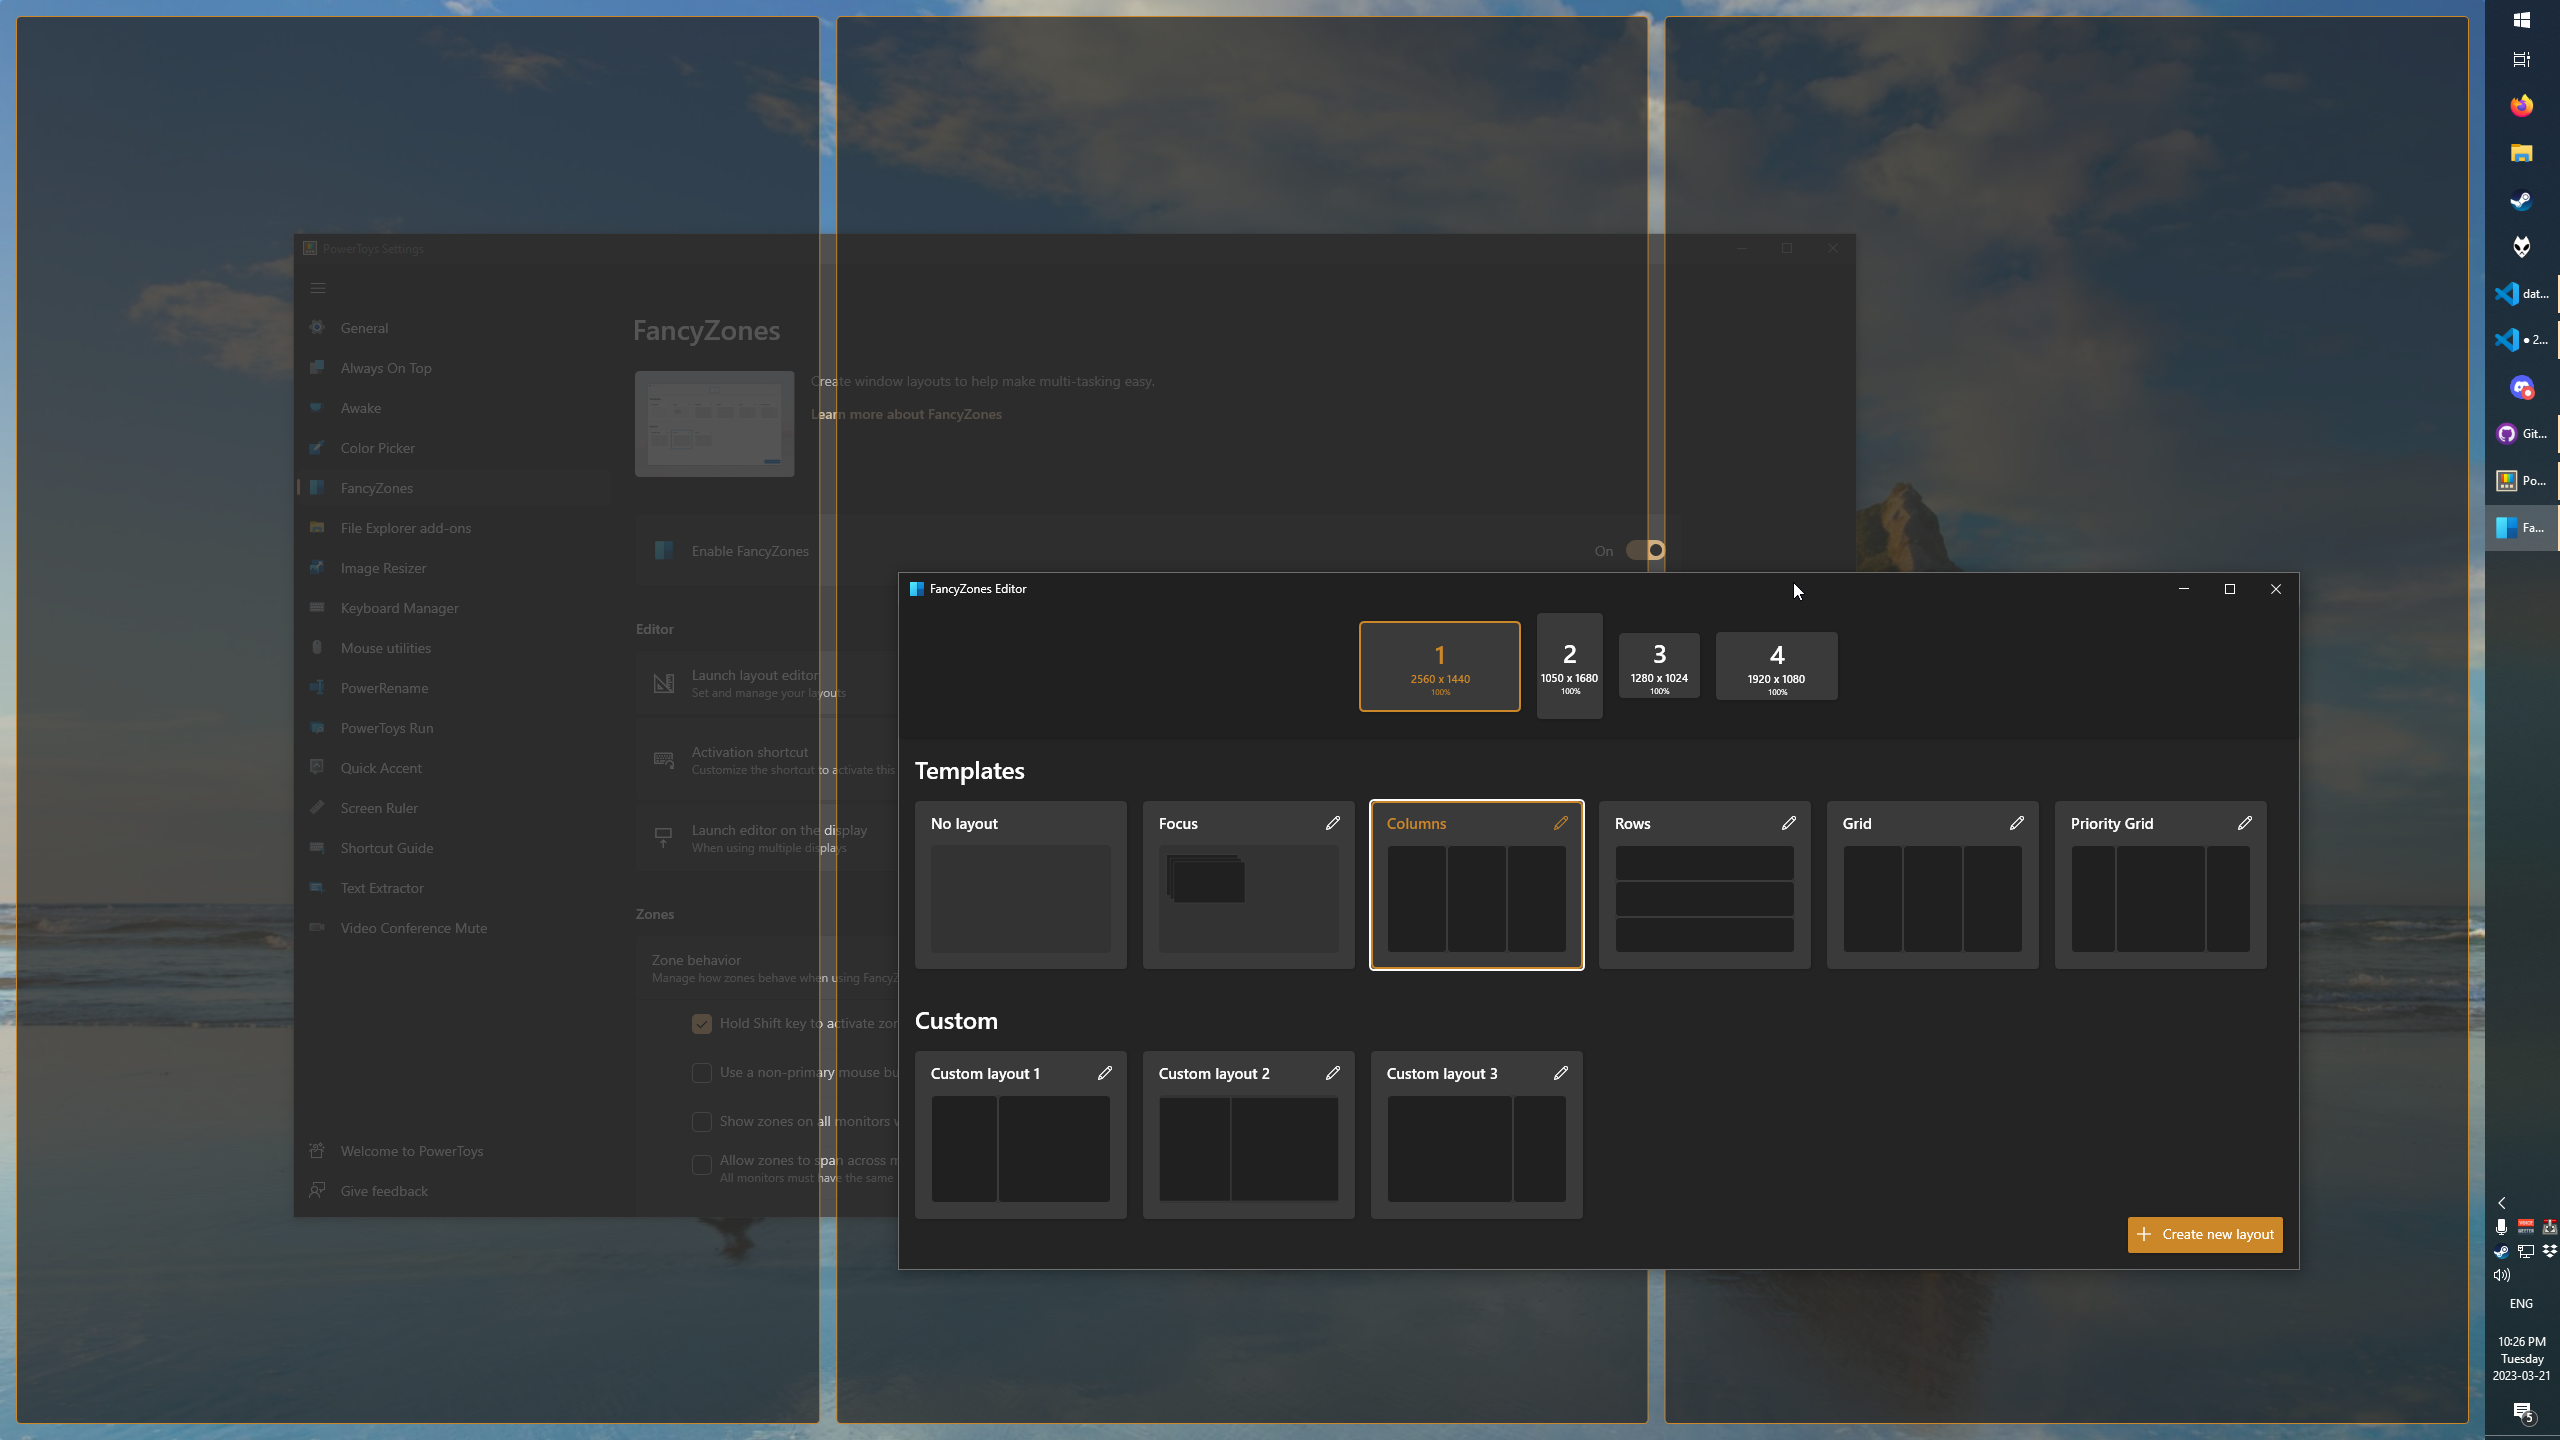
Now that would technically work, although it wasn’t that interesting.
Another idea I had was to use linux, with how customizable it is there was bound to be a way for me to only render in the good sections of the monitor!
Linux Solution
Now I had some idea of what to do, I was planning on using xrandr and creating a custom “resolution” so that the laptop I was using to drive the display would still output 1440p BUT only render within the bounds of the good sections.
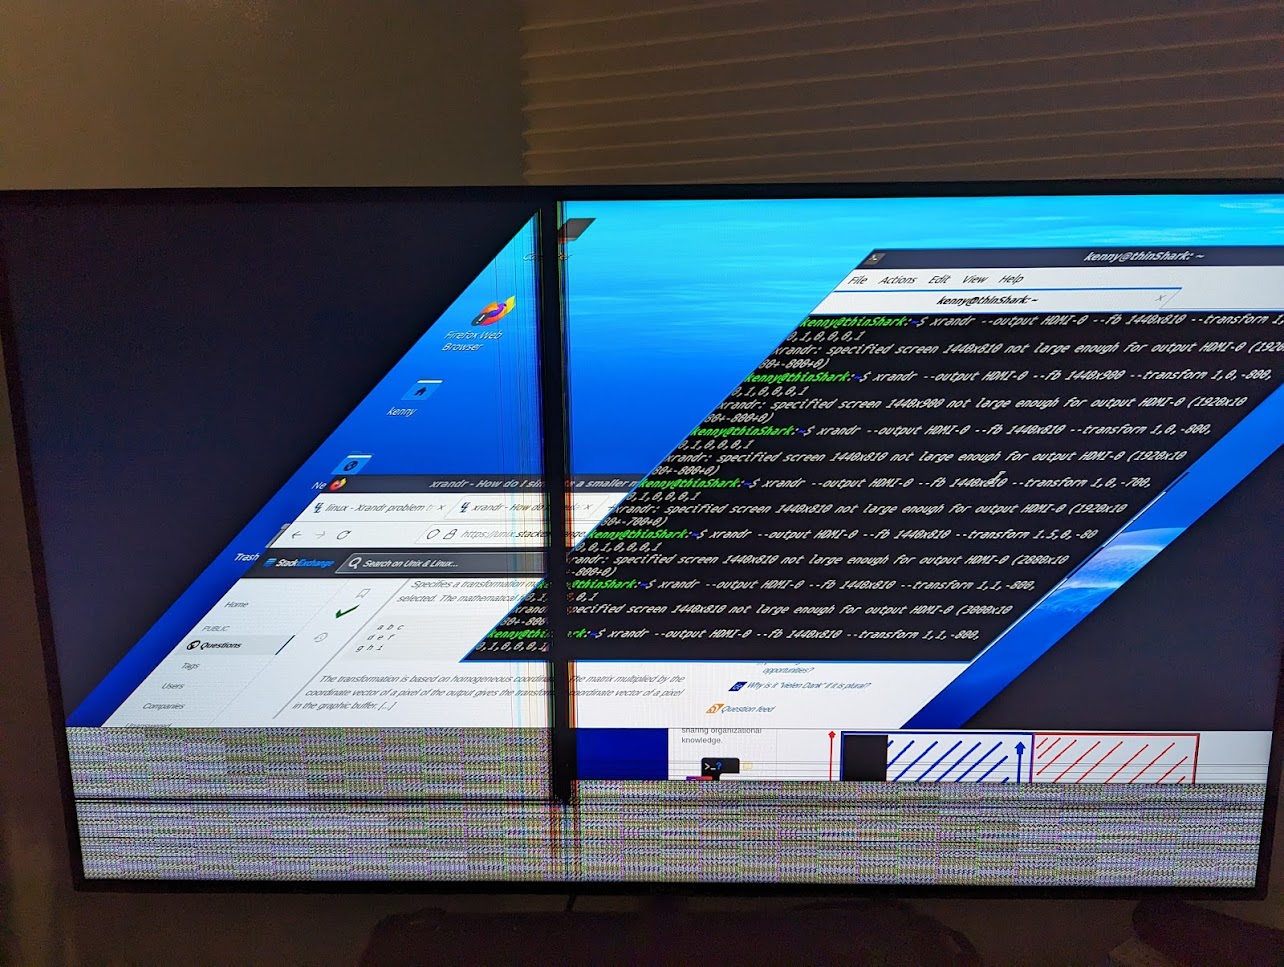
Pictured is one of my mess ups while playing around with xrandr.
Rough math for solution
To start off I needed to do some really rough math about what dimensions I’d need to use in xrandr to achieve the results I wanted.
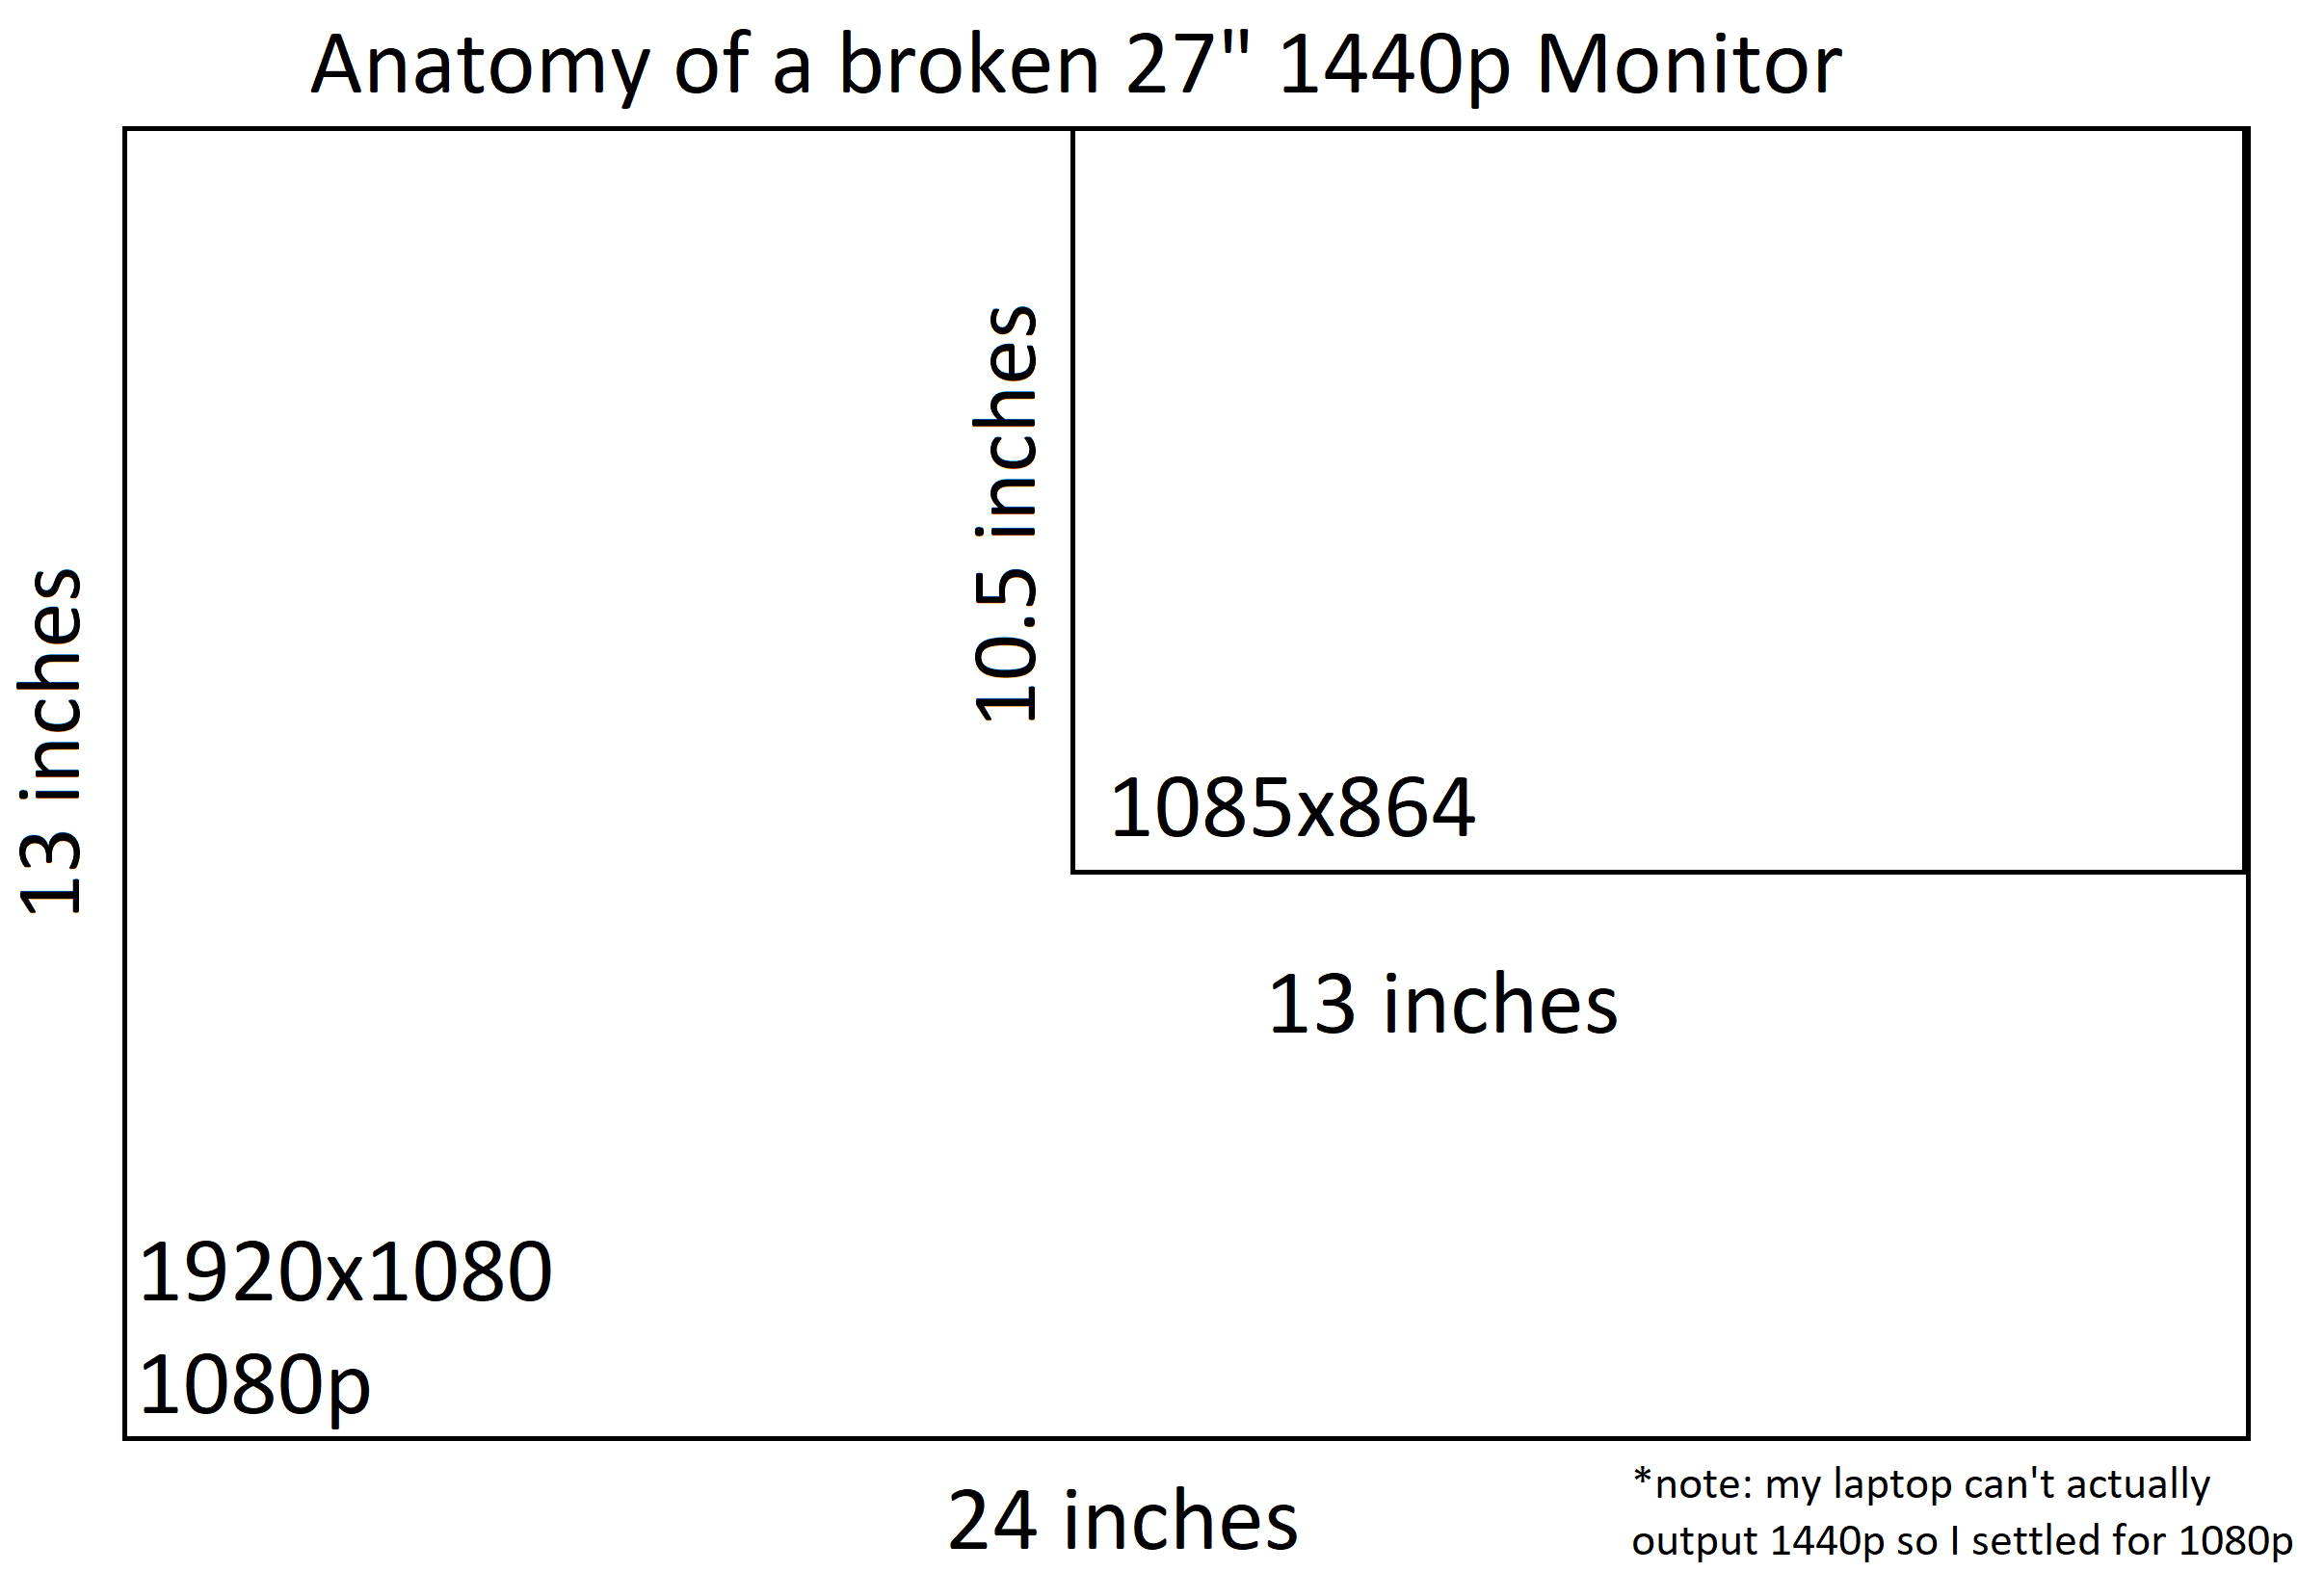
For this I basically just measured the good portion I wanted to use, and did simple math on the resolution.
Xrandr creating the new mode
Now that I had the resolution I needed, all that was left was to actually create a new mode for xrandr to actually use.
The command I came down to using was:
xrandr –newmode BROKEN 76.50 1088 1144 1256 1424 864 867 877 897 -hsync +vsync
xrandr –addmode HDMI-0 BROKEN
Its somewhat difficult to explain what that does specifically but it basically creates a new mode with resolution 1088 x 864 then adds it to my output device which is my hdmi port on my laptop.
Xrandr executing the resolution
Now that my output device has all the specifications required to actually display the resolution I needed to actually execute on the new mode, thus:
xrandr –output HDMI-0 –fb 1085x864 –panning 1085x864 –mode BROKEN
which essentially puts the display into the mode I want, then:
xrandr –fb 1085x864 –output HDMI-0 –mode 1920x1080 –transform 1,0,-835,0,1,0,0,1
the important part about this command is the “transform” portion, essentially after outputing the resolution I wanted, it will shift the rendered area to the right by 835 pixels thus giving me what I wanted.
End result
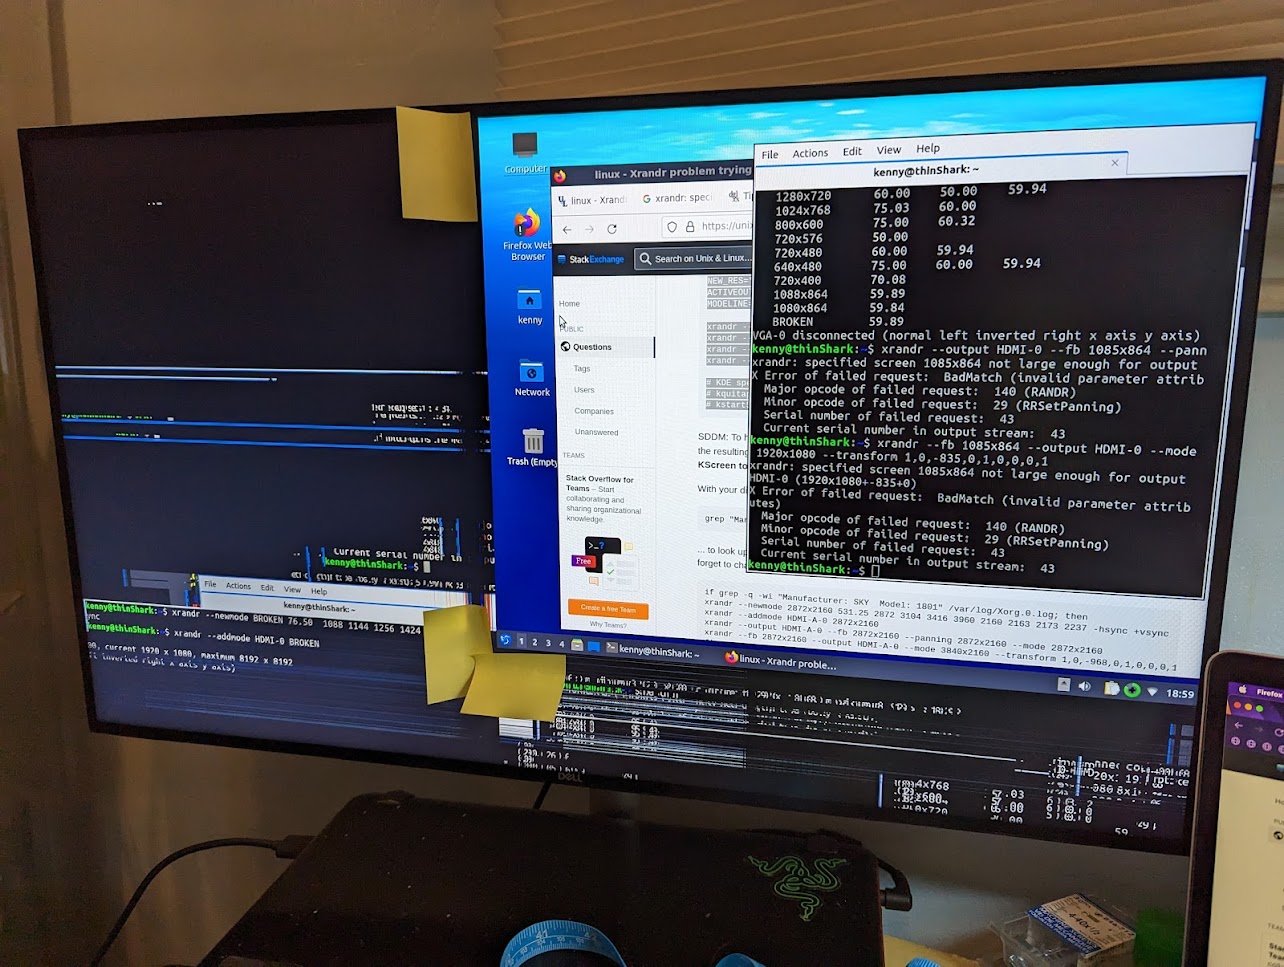
After adding these commands to my startup, and setting up my linux distro to auto login, my thin client is complete. Ignore the graphical bugs, they disappear after a bit.
This thin client is setup at my arts and crafts workstation where I can use it to play music, search things on the web, or accessing my servers for maintence without having to turn on my desktop.